
A Seed of Love – Handmade Gifts Made by Kids
 When giving gifts to people, I always try to find things that are personal and, preferably, hand-made. Giving artwork as gifts, however, can be a bit repetitive when you are an artists. So, when our housekeeper taught me how to grow avocado trees, I thought we’d grow them together with Adèle and make holiday gifts out of them. Usually, it takes anywhere from a few weeks to a few months to make a gift like this, but it’s well worth it if you can plan ahead. It also does not cost anything other than your time and creativity which is a bonus, especially during a holiday season when people tend to spend a lot of money. Another great thing is that working on a gift for a long time makes it extra special because you are putting the love and energy into it for a long time and it shows. And also, I feel that giving a plant as a gift is a way to care both for people and the environment. Plants clean the air, make the space feel alive and put us in a nurturing state of mind. So, to get started, here is what you will need:
- An avocado
- Something with a large opening that you can use as a pot. It has to be made from a material that can be pierced.
- Earth
- Time
- An egg carton or a small cup/bowl
- An old plate or bowl
- Toothpicks (optional)
HOW TO GROWN AND PLANT AN AVOCADO TREE FROM A SEED
- Whenever you eat avocados, save the seeds. Save a few as they ripen at different times because some might not at all.
- Gently wash off any extra flesh off the seed with warm water.
- Put the seeds in the egg carton with the flat side facing down. (Note, if the seed is too small and you are using a cup/another container instead of the egg carton, then poke toothpicks into the seed as pictured and suspend. Don’t worry, poking the seed will not do it any harm; just make sure that you put the toothpicks in the middle so that the seed can be suspended in water half way as described in step 4).

- Fill the carton with water so that it covers the avocado seed half way. (Note, if you cover the entire seed with water, it will not work).
- Change water every 1-2 days.
- The seed will start to dry and the skin will start to peel.
- The seed will start to crack and a root will come out.

- When the root is about 2-3cm long/1-1.5 inches, the seed is ready to be planted.

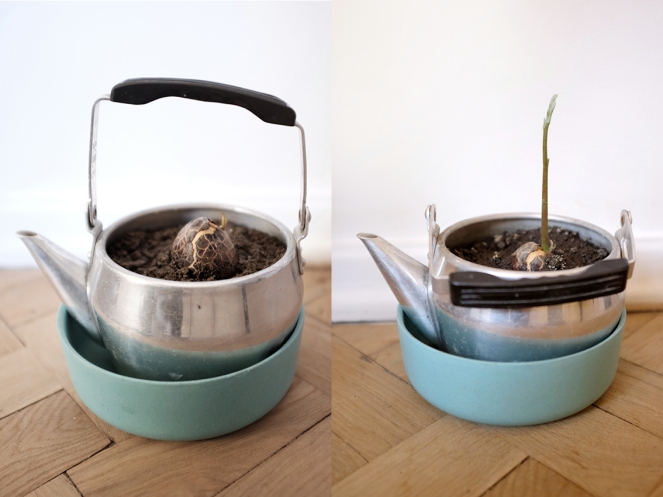
- Pick a pot. (We used my parents’ old Soviet teapot and put a few holes on the bottom by hammering a nail.) If you don’t have anything you can upcycle, then here are some creative options: (Disclaimer: This post contains affiliate links, and if you decide to purchase anything from suggested links or companies, I may receive a commission. Recommended products are either things I love using or think would be helpful for you. Making your purchase using these affiliate links helps keep this site running, so thank you kindly!)
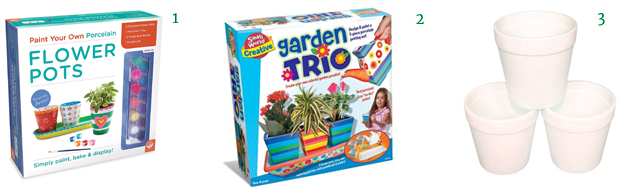 image 1: Paint Your Own Porcelain Flower Pots
 - Put the pot on a plate or a tray so that it can contain the water. (We upcycled Adèle’s old bamboo bowl
).
- Decorate your pot if you feel like it.

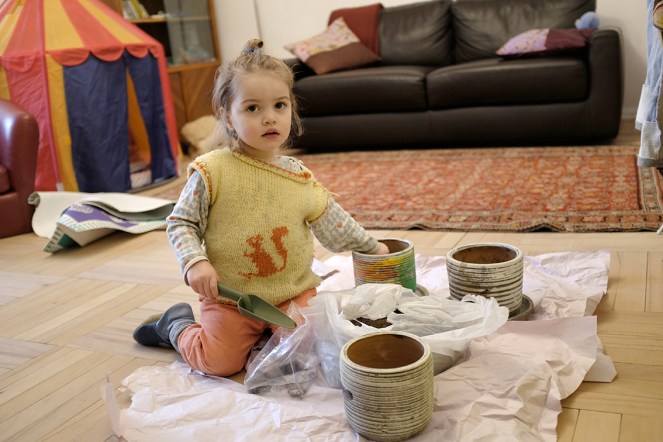
- Put a few rocks/stones on the bottom of the pot to allow the water to drain properly. (We collected some outside during one of our walks and it was an activity of its own.)
- Fill your pot (or whatever you are using) with earth. Adèle dug some up with her toy shovel
. You can also use a spoon or whatever you have at hand.
- Dig a small hole in the earth and plant the seed half way – i.e. only half of the seed should be visible.
- Water your seed and ensure that the soil stays moist. Keep it in a sunny, warm place. It does not need direct sunlight, but does need light.
 Here is what our avocado tree looked like the last time we saw it. It grew quite quickly and Adèle enjoyed watering it. When we moved, this one had to stay behind. Within a few months it became too big for the pot and was planted in a friend’s garden. It is now a happy tree and we have new ones growing in our current house.
How long did it take you to grow your seed into a tree? What did you plant it in? Remember to tag me on Instagram as @Rainy.Day.Sunny.Play and use the #Rainy.Day.Sunny.Play hashtag. We love seeing your creations!
