
Photography is a wonderful teaching tool. Through it, children can improve fine motor skills and learn valuable life lessons about patience, focus, editing, perspective, perseverance, timing, saving (not wasting) and decision-making.
 DIGITAL VS. ANALOG PHOTOGRAPHY
One of the biggest things that was lost when the digital camera was born is that we rarely print out pictures. Before, with analogue cameras, there was something magical about dropping off your negative film, waiting for it (sometimes for days), and then having a few precious photos. We didn’t click as mindlessly and quickly when taking photos. We thought more before clicking that shutter button because the roll of film was limited to a maximum of 36 frames. Now, with digital photography being so “limitless,” no one thinks about “wasting” photos anymore and it is also easy to delete unwanted moments.
Professional photographers take continues photos until they get that one, perfect shot. Most never wait for the “decisive moment” anymore – who has the time anyway, right? When digital cameras became available I was so sure I would never give up doing black and white, analogue photography. But once I tried, it was just so much easier. No more dust to deal with, no more scratched negatives to scan and edit. Now, with a click of a button, I could upload and print my photos at home. But I never did.
Because we take soooo many photos, they get lost in our phones, in our computers. Most never get printed – there are just too many to look through, too many to edit. Once again, most of us don’t have the time to look through hundreds of photos. That’s why when we take a photo we like, it gets immediately uploaded to social media. At least that way we manage to hold on to some moments.
Anyway, thinking about all of this, I wanted to find a way to make photography magical. I wanted to find ways for Adèle to have that same feeling I got when printing in the darkroom. I also wanted her to experience the basic process of photography. So, here are some of our favourite photo-related activities and I hope you try and enjoy them, too!
 1. CONVERT YOUR ROOM INTO A CAMERA OBSCURA.
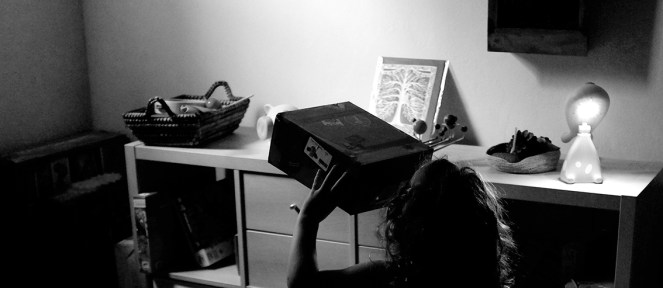
Art historians have suggested that famous artists like the Maser of Light, Vermeer, used camera obscures to make paintings. A camera obscure means “dark room” in Latin and is a dark room with a hole on one side. Through this small hall, light enters and creates an image. It’s a natural phenomenon and is a wonder to see. Adèle’s room (pictured above) is a natural camera obscure. The blinds have a hole in them which allows the light to pass through. We see an upside down image of the buildings in front. The earliest camera obscures were caves. But don’t worry, you don’t need an old building nor a cave to make a camera obscure. All you need to do is block the light from all windows (you can use black trash bags, cardboard, old blankets, etc.) and make a hole (the size of a dime) in the middle. The smaller the hall the sharper the image will be. The larger the hall, the blurrier the image will appear. Once I made a camera obscure above a garage and could see people walking on my ceiling and cars driving by. Depending on where you live and what your windows look out at, it could be really fun to watch. Note, that since it requires a lot of sunlight, this activity works best on a bright, sunny day.
 2. MAKE A PINHOLE CAMERA.
(***Disclaimer: This post contains affiliate links, and if you decide to purchase anything from suggested links or companies, I may receive a commission. Recommended products are either things I love using or think would be helpful for you. Making your purchase using these affiliate links helps keep this site running, so thank you kindly!)
A pinhole camera is the earliest type of a camera. It works in the same way as the camera obscure, but uses a dark box instead of an entire room. The idea is to make a hole the size of a pin (in my photography classes we, literally, used pins to make holes) and this is the hole through which the light will travel, making an image. It’s a simple principle of how vision and all cameras work. The light travels through your pupils and the images you see are turned right-side up by your brains. On store-bought cameras, the “hole” is the lens and the image is still created upside-down, just like your eyes do. The difference is that there is a mirror inside the cameras which flips the image right-side up.
Here is what you will need to make your own pinhole camera:
Materials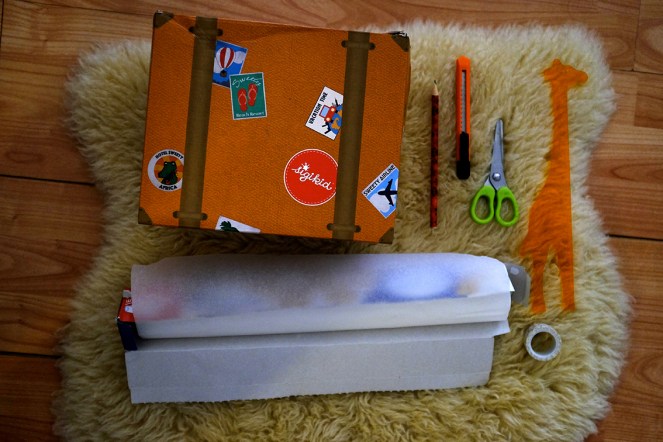
- A box that can close/open easily. One with a lid will be the easiest. Use a shoe box if you have one.
- A well sharpened pencil (under adult supervision)
- An X-ACTO Knife
(under adult supervision – I do this part while Adèle watches.)
- Child-frindly Scissors
- Wax Paper
(baking paper)
- Washi Masking Tape (Any tape will work, but Adèle can tear off washi ones by herself and I try to provide her with things which encourage independence.)
Instructions for Making a Pinhole Camera
- Punch a hole in one end of the box with the pencil.
- Cut out a square on the opposite side of the box, across from the hole. The square should be around 5cm x 5cm.
- Cut out a 8cmx8cm square out of the wax paper.
- Tape the edges of the paper over the square hole.
- Turn on a lamp in a dim room and stand, with the camera in from of the lamp.

- Hold the camera in front of you and look at the wax paper. You should see the upside-down lamp on the wax paper.
- We tried looking at a window with blinds ajar and it worked. You just need to keep the camera steady. If you cannot make your room dark enough, then use a blanket to cover yourself and the camera (make sure the pinhole is not covered, though, otherwise light will not be able to enter it).
If you prefer to buy a DIY Pinhole kit that actually works with film, there are some great ones on the market. Here are the ones I like the best:
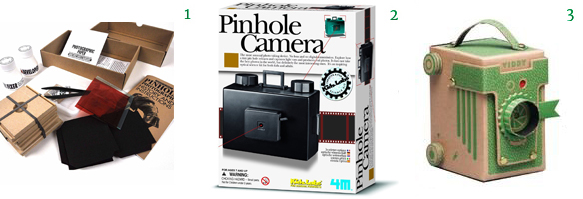
- Pinhole Photography Kit
– If your kids are old enough to work with chemicals, then you can make real pinhole photos with this Pinhole Photography Kit
- 4M Pinhole Camera Kit
– This kit has all the pieces for assembling a plastic pinhole camera. It’s not for small kids and does not come with 35mm film but is more durable than cardboard pinhole models.
- Green Viddy Pinhole Camera
– An eco-friendly DIY pinhole camera made from recycled card. This one is one of the more expensive ones, but it’s very pretty and comes in 4 colours. Both 35mm and medium format film can be used so that’s a definitely plus.
 3. MAKE SUN PRINTS.

Sun Prints are perfect for any age. I have so much with them myself and it’s marvellous every single time. Sun Art Paper is a special paper which undergoes a chemical change when exposed to sunlight. Making sun prints is an excellent activity for nature walks and camping. It challenges the imagination to create unique silhouettes with found objects.


The sheet of included plexiglass helps hold the objects flat. You can even draw on it with Chalk Markers!


Alternatively, you can draw on a transparency.


If you add some lemon juice to the water while rinsing the print, it will make the photo more vivid. Because this paper is light sensitive, it is important to keep it away from light (do NOT expose it to any light) before placing objects on it.
 4. INSTANT CAMERA FUN.
There are 4 great things about instant cameras:
- They are easy to use (which is a great thing for kids). All your child needs to do is to simply point the camera at something and press the shutter button. The instant camera does all the rest. There is no focusing involved (something difficult for small children to grasp) and no printer to connect to. The camera adjusts the exposure and prints a photo in seconds after the shot is taken.
- There is a limit to how many images you can make (because you are paying for each piece of paper) so it makes you stop and think more. It forces you to decide if the shot is really wroth taking. You won’t be clicking away, wasting film the way you do with a phone camera, for example.
- Watching the image you just took come out of the camera is mesmerising. Usually you can’t preview the photos you took and the image gets printed right away, which is the nostalgic, fun part about this equipment. Instant cameras don’t produce high resolution images – that’s not the point. However, there are a wonderful teaching tool for budding photographers and they can be used to teach children about patience, about not wasting (paper, money), about editing and decision-making.
- Some of instant cameras these days print photos with a sticky backing which means that they can be used like stickers. As children usually like stickers, it is a unique way to allow them to create their own. And, just to be clear, instant camera means that NO ink is involved – you just need to buy the paper. This is why I looked at photo paper prices when researching instant cameras. Some cameras might cost more, but the paper is less expensive which might actually be a better deal than buying a cheaper camera with more expensive paper. Other things to consider are features and built-in capabilities. So, if you also want to try using an instant camera, here are top three to choose from:
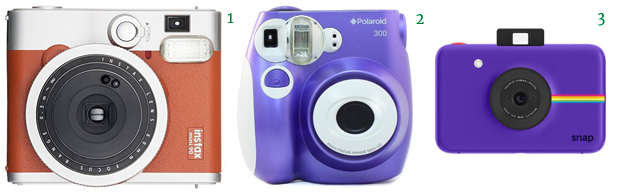
- Fujifilm Instax Mini 90 (black or brown)
- Fun possibilities include double exposure (taking 2 images in 1 photo), build mode (making it possible to photograph light trails), macro photography (for taking photos of bugs and leaves ;)), kid mode (for taking photos of people and fast moving things).
- Print size is approximately that of a credit card.
- Photos are printed from the camera within seconds, so no preview is possible.
- Least expensive paper costs $0.61 per sheet (if you buy 60 sheets for $36.57).
- Polaroid PIC-300
(available in a variety of colours)
- Durable and easy to use.
- Print size is approximately that of a business card
- Photos are printed from the camera within seconds, so no preview is possible.
- Least expensive paper costs $1 per sheet (if you buy 20 sheets for $19.99).
- Polaroid Snap Instant Digital Camera (available in a variety of colours)
- A compact camera with fun modes such as black and white or vintage (like the old Polaroid photos).
- 2×3″ prints have an adhesive back which is fun for kids’ art activities.
- Micro SD card allows the images to be viewed and saved digitally.
- Least expensive paper costs $0.50 per sheet (if you buy 20 sheets for $9.97).
 Another way to have tangible prints in your hands is to use portable printers which are so small they can fit into your pocket. The following are my top three picks:

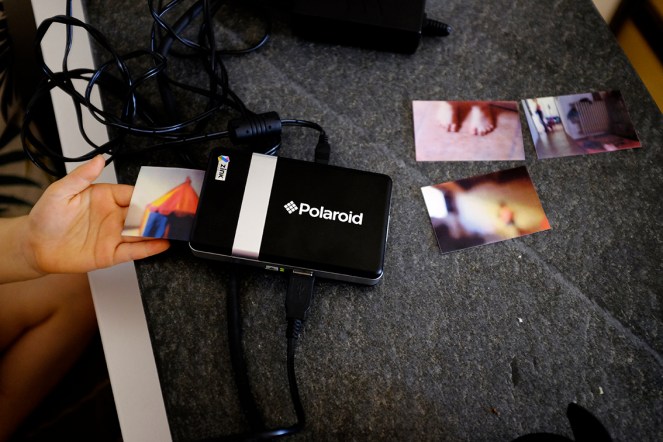
- Polaroid PoGo Instant Mobile Printer
– I bought an older model of this printer almost 11 years ago. It works perfectly. The film expired in 2009 so I thought it wouldn’t work, but it does! The best part is that it has an adhesive backing so Adèle can use it in her artwork (see below). And with a USB plug, it can print photos from almost any device that allows USB printing.
- Polaroid ZIP Mobile Printer
– If you want to use your mobile phone or bluetooth technologies, then this is the printer for you. Like other polaroid instant cameras and printers, it uses the same sticky paper.
- HP Sprocket Portable Photo Printer
– This printer also uses bluetooth and can be linked to social media accounts. It comes with many modern-time add-ons such as emojis, borders, etc., It is not for our family since Adèle is allowed zero screen time and we limit our personal screen time to work and Skype. However, I have heard good things about this printer and since HP is known for making quality products, I put it on this list.
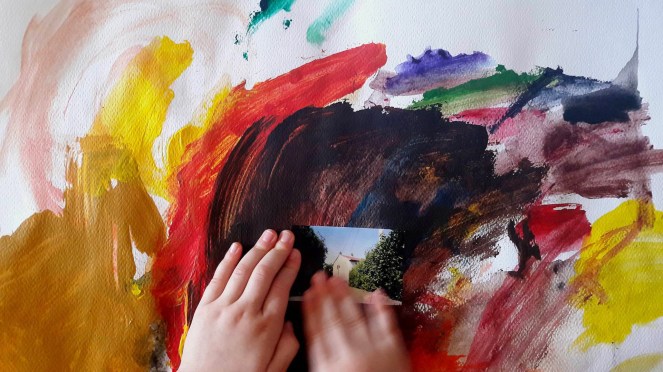
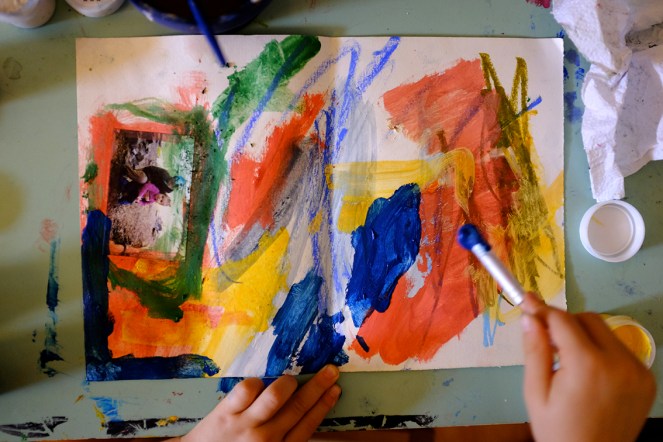
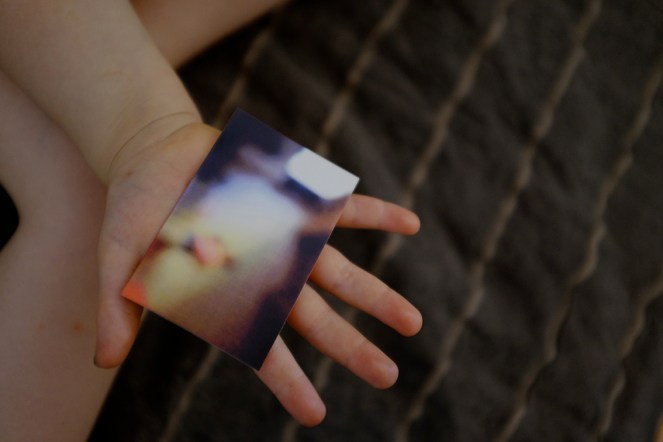
 Here Adèle is waiting to catch her photos as they print. She likes making blurry photographs, sticking them to canvas boards and painting on top.
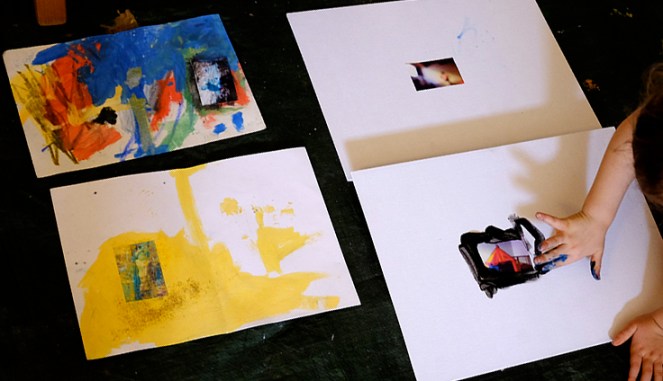 Sometimes Adèle uses sand and rubs photos to change their texture and color. She also likes to watch the chemical reaction which occurs when she applies paint on top of the photos. The color changes as she wipes it with a cloth, paper towel, or wooden fork/knife. Sometimes she also sticks them to dry paintings. Possibilities are limitless.
5. PHOTOGRAPHY BOOKS FOR KIDS.
Reading about photography is, of course, an excellent way to get children interested in image-making. I have yet to find a good photography book aimed at toddlers and preschoolers (please let me know if you find one!), but here are some fantastic ones for older kids:
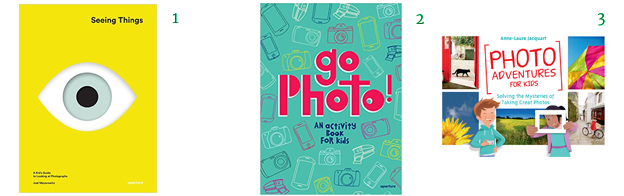
- Seeing Things: A Kid’s Guide to Looking at Photographs
– Adèle’s best friend gave her this beautiful book as a gift. It is aimed at older kids, but even at 2 she enjoyed looking at all the photos. The photos chosen for this book (like Henri Cartier-Bresson’s iconic “Man Jumping Over Puddle” or Mary Ellen Mark’s portrait of the circus elephant) are child-friendly and intriguing and invite questions. I didn’t read all the text when Adèle was younger, but simplified the ideas so that she could understand it at her age. Overall, this is our favourite book for introducing kids to photography.
- Go Photo! An Activity Book for Kids
– This book shows 25 fun, creative photo-related activities kids can do in different settings/situations. Not all activities require an actual camera. The book is written in a friendly language and is easy to follow.
- Photo Adventures for Kids: Solving the Mysteries of Taking Great Photos
– This book teaches how to look for special moments to make great photos anywhere and everywhere. It comes with a cutout “viewfinder” which helps kids learn about composition. It is meant for older kids to read by themselves by encouraging them to “solve the mystery of photography” through various games, assignments and challenges.
What are your favorite photo-related activities? Have you found kid-friendly equipment which you think I should add to my lists?

Photography has really changed and yes we now take so many pictures and print none. It is important to save those best ones and preserve the memories. Polaroid cameras are also a thing of the past but looks like they are still selling them.
LikeLike
There are many people who still use Polaroids, but in more artistic ways since digital prints are less expensive to print. 😉
LikeLike
It’s sp true about the digital age. I don’t have many printed photos in my home. it took me almost 8 years to hang my wedding photo. I love the sun art paper. I bet my oldest would love that.
LikeLike
Haha, I only had one printed photo framed. Luckily, with these activities, now we have a lot of photo art to decorate the walls. Sun paper is so easy to use and it’s also a good way to explain simple photographic principles. The best part is that within a few minutes your child would see the results which is really exciting!
LikeLike
My son likes to draw and take pictures with our cameras, but nothing as great as your activities. We might have to try some of these!
LikeLike
Let me know if you do. Would love to see the results!
LikeLike